 06.33
06.33
 ipod touch review

These are instructions on how to jailbreak your iPod touch using iLiberty+.
 Watch the Video!
For your convenience this tutorial is available in video format also. Click the Watch It button to view the tutorial!
Before following these instructions you should have already restored your iPod touch to 1.1.4 using iTunes. You should have the iPod touch connected to your dock/computer and iTunes should have detected the iPhone after restore at least one once!
Step One
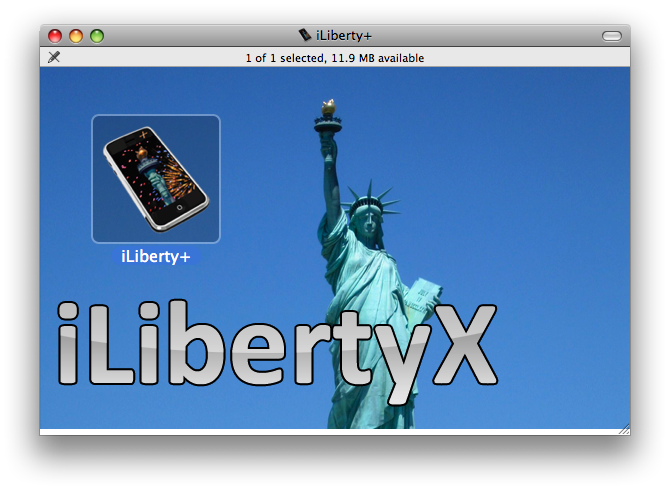
Download iLiberty+ 1.2 from here, or here to your desktop.
Step Two
Double click the downloaded file (iLibertyX.dmg) on your desktop.
Step Three
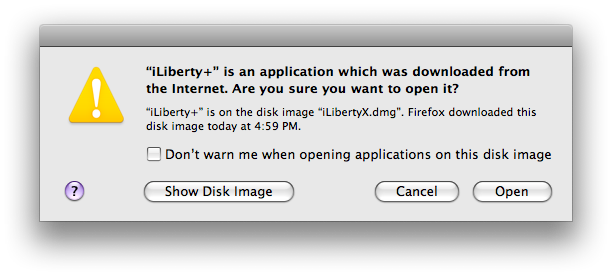
Double click the iLiberty icon to launch the program. NOTE***: You could also drag this icon into your Applications folder to permanently install it.

Step Four
You will be warned that you downloaded iLiberty+ from the internet. Click the Open button.
Step Five
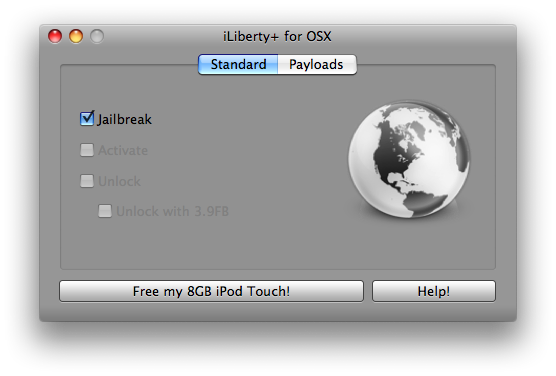
iLiberty+ will open onto the standard tab. Notice the jailbreak checkbox is already checked.
Step Six
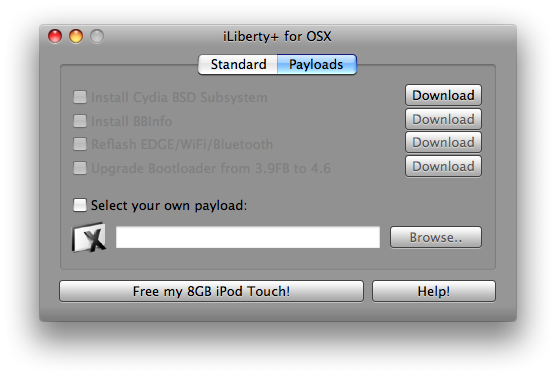
Click to select the Payloads tab. From here you can select additional payloads to install while jailbreaking. We will leave this alone for now and go back to the Standard tab. Note***: A tutorial on how to download and install payloads will be posted in the near future.
Step Seven
Click the Free My *GB iPod Touch! button to begin.


Step Eight
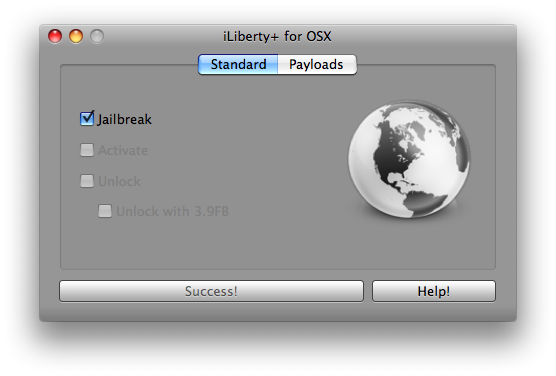
Once the jailbreak is complete you will see an Enjoy! message. Click the OK button to enjoy your newly jailbroken iPod touch!

THANKS***: A lot of thanks go out to AViegas, George Zhu, Dev Team, and whomever else contributed to this release!
 Posted in: Mac


0 komentar:
Posting Komentar